Picture Engine are delighted to announce a new series of videos covering a variety of topics in the field of web design, online learning, SEO, and anything else that seems relevant or important at the time!
These will hopefully get more and more slick as time goes on, the first few might look a bit clunky during the software learning curve, but it’s amazing to discover what can actually be done for almost no money if you have a laptop and something to talk about.
Video Number One!
Here is my first Picture Engine video. As someone who lived in Manchester for 15 years, and grew up close enough to be hugely influenced by the “Madchester” scene growing up, I’m paying my own little tribute to the famous Factory Records Catalogue with my numbering system! (If this is new to you, click here to find out more about this fantastic Manc eccentricity in which FAC 51 was the Hacienda Nightclub and FAC 501 was Anthony H. Wilson’s coffin…)
You can follow Picture Engine directly on Vimeo to see all the videos as they are added, or you can simply keep an eye on our social media, where there’ll be regular links posted and shared.
How to make a really CHEAP video…
For those who’d like to know how to make videos without spending much, or indeed ANY money, here’s how I did it.
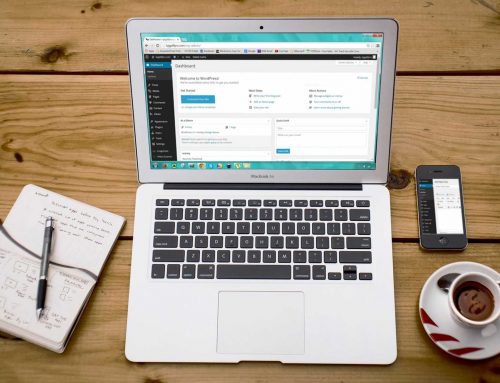
My laptop has Windows 10 and like most, an inbuilt webcam. Using the Camera app that comes with windows I recorded the “talking head” segments and they saved automatically in the Pictures>Camera Roll folder on my computer. I then downloaded an app that Microsoft don’t actually make all that much fuss about, and they should – Movie Maker 10.This is FREE and allows you to record your screen, edit movie clips and combine the whole lot into a “Project” with different transitions between the clips, add credits, add titles and static images and export the whole lot as a movie.
I actually paid for the Pro version of this for the princely sum of £8.49, because you can only save “projects” to work on later if you have the Pro version and I wanted to re-use the titles and credits every time to keep everything looking consistent. You get a wider range of options (including pretty much all the fonts installed on your PC) with the Pro version, but you can do almost everything in the free version if you’re on a tight budget.

So – I filmed my “talking head” clips in the Camera app and my screen recordings in Movie Maker Pro, then I edited the clips to remove excess pauses at the beginning and ends (usually where I was fumbling for the “stop recording” button). I assembled them in Movie Maker Pro, added titles and end credits and then added a soundtrack to the finished movie using some built in soundtrack music that comes with it. At some point I’ll get around to composing my own, but the built in tunes work really well.
The only drawback with this app is the size of the finished video – there aren’t a huge range of settings and you end up with something that is really a bit large for successful use on the web. For quite a while I have used a brilliant free open source application called Handbrake to reduce the size of customer videos, and that does a great job of reducing the file size to something suitable for Vimeo or Youtube. To keep the bandwidth off my server I’ve uploaded the videos to Vimeo and linked them from there to share on social media. Never host videos on your own webpage, it’s not worth the pain!! You can have a limited account on Vimeo for free; I’ve got the basic package, which is about £5 a month but there’s a free trial period and I can upload up to 5Gb of video each week. If I use Handbrake to optimise the video first, that’s quite a lot more video than I have time to actually film and edit!


Leave A Comment